Summer is the perfect time to grow many varieties of herbs and veggies and it’s also a great time to experiment with plants you have never tried before (or even heard of if you wish)
I recommend sticking to varieties that are suited to your location and climate otherwise you may have a few failures in your little adventures. For example, it is no use attempting to grow iceberg lettuce if you live in Darwin, but you may have success if you live in Hobart. A quick Google search and you will have stacks of info on what grows best in your location.
Tip - Always experiment, create your own techniques and have fun in doing so. You will be very surprised at what you can grow on your Salad Table. I can tell you I am always learning of new varieties that you guys all over Australia are growing, herbs and veggies that i thought would never be an option!!!
The following are my 5 favourite summer varieties that I like to grow on my own Salad Tables.
1. Lettuce
Like I said I don’t grow Iceberg lettuce in summer due to the fact I live in South East QLD and these types will basically boil internally in the hot sun and rot away before you know it.
My no. 1 lettuce choice is the good old green oak, you know the one you see on the supermarket shelves in the clear plastic sleeve with a loose leaf appearance? The difference being, yours will be fresh and crisp whereas the one off the shelf is usually old and stale before you get to it!!!
Use - Green oak lettuce are perfect for the base of any salad, sandwich or wrap. They grow pretty much anywhere, anytime and in fact I grow these all year round in my commercial operation and on my Salad Tables
Seed – only 1 seed is needed per grow cube OR add 1 green oak and 1 red oak for a combo lettuce (a real hit at our local farmers market)
Grow times - vary from 2.5 weeks to about 4 weeks from the time a seedling is places in to The Salad Table and sitting in full sun all day long!!!
Climate - During 40+ deg days you will find that the leaves become “soft” looking and may even appear to droop slightly, but come late afternoon as the sun begins to set they prop themselves back up and take on the “crisp” look once again.
Storage - to keep fresh after harvesting place in the crisper in your fridge with the the roots attached. You should expect more than a week without a big loss in quality when stored in this manner.
Spacing – start in close spaced holes if you have a 52 or 68 plant Salad Table and then transplant in larger spaced holes after approx. 2 weeks to allow your lettuce leaves to spread out.
2. Basil
I love this plant not only for its strong flavour and amazing aroma, but because it is so easy to grow.
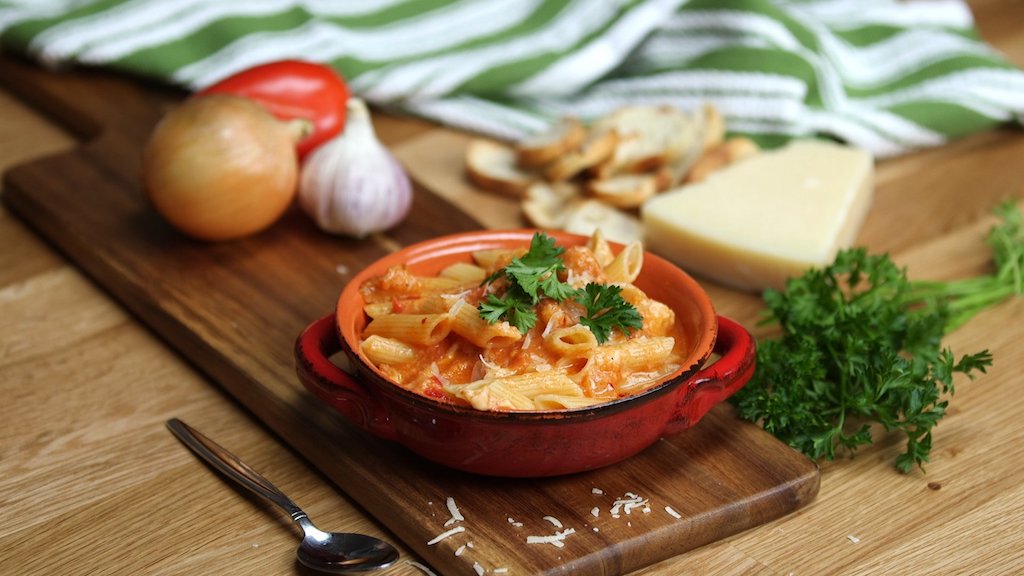
Use – basil pesto is the first thing that comes to mind and as you probably already know it's an essential ingredient in any pasta dish. I also like to add basil straight into salad dishes as well as any egg creation, scrambled being my favourite.
Seed - I recommend using about 6-10 seeds in each grow cube when seeding to create a nice thick productive bunch.
Grow time – as with lettuce you will have a large bunch within 3-4 weeks after planting your seedling.
Climate – personally I recommend as much sun as you can give your basil the better. If this is not possible they will still grow very nicely with only a few hours a day. Basil hate the cold and turn black very quickly if presented with any frost, but this generally not an issue in Australia during the summer months except maybe occasionally in some parts of Tassie!!! Another point to mention when growing basil is their lack of resistance to downy and powdery mildew and at the time of writing this we are experiencing quite a lot of both in the Lockyer Valley just west of Brisbane. The spores tend to take over your plants just after rain and travel on even the slightest of breezes.
Storage – Due to basil going black in cooler temps, it is not advisable to store in the fridge but instead on the kitchen bench in a glass of water. The beauty of having the root ball still attached means you can keep the roots wet with nutrient straight from your nutrient tank and not only will your plants stay fresh but in fact will keep growing as well. Another option as with many herbs is to dry them out. We will discuss this later in another blog.
Spacing – Basil is perfect for the closer spaced holes as on the 52, 68 and VerTable Salad Tables.
3. Kale
My favourite variety is Tuscan Black as it is very simple to grow and is a nutrient powerhouse.
Use – This is another common raw ingredient that goes straight in to every one of my salads. Cut into strips, sprinkle with olive oil and place in the oven on 150C for 15 minutes for a feed of kale chips. Sure beats potato chips in the health stakes!!! It is also a welcome addition in any juicing recipes you may have.
Seed – 2 or 3 seeds per grow cube
Grow time – 3-4 weeks in most areas will give you a big bunch that you probably won’t find the like of on any supermarket shelves. Harvest earlier for a fuller flavour.
Climate – This is another all year rounder in most locations throughout Australia and virtually anywhere during summer on The Salad Table. May suffer from excessive and ongoing heat in the northern tropical areas of Aus. That being said, my son has grown Kale in Darwin in the middle of summer on many occasions.
Storage – Leave the roots on and pop your whole plant in the fridge crisper. Once again keep the roots moist for an even longer lasting plant. Cut off the leaves, place in plastic bag a freeze. I often use this technique if I don’t have any seedlings to take their place and will need kale for the juicer in a week or 3…
Spacing – start off in closer spaced holes and transfer into the larger spaced holes after a couple of weeks. If you don’t have room to spread them out, just leave and they will still provide you with a great quality kale plant but the stems may be a little longer and the leaves a little thinner as a result of them chasing the light / growing straight up.
4. Cherry Tomatoes
There are cherry tomatoes and there are cherry tomatoes grown in The Salad Table. The taste is unbelievable and you won’t find anything like them in the shops. Firstly, you get to ripen them on the vine unlike commercially available where they are harvested early and then made to “ripen” unnaturally after their sometimes long travel and storage times.
Secondly, hydroponically grown tomatoes just taste better…
Use – eat them whole for a quick simple and healthy snack, add the whole tom to any salad, create your own salsa dip or pasta sauce, fry them, stuff them or even dry them in the oven for some gourmet sun dried tomatoes.
Seed – 1 seed only in each grow cube. If you have seeds that you are not sure about germination rates, use 2 or 3 and pull out the weakest if more than 1 start to grow.
Grow time – depends on variety, location, climate and many other factors but you should expect your first harvest around the 6 week mark after planting your seedling.
Climate – cherry toms grow great in warm weather. Splitting may occur after rain so be sure to pick what you can prior to any downpour.
Storage – storage shouldn’t be an issue as these little guys should disappear very fast. You may even freeze any that you plan to use in soups, sauces or cooking dishes but I wouldn’t recommend freezing cherry toms that you plan on having in salads as they become mushy when thawed. I like to keep harvested toms at room temperature and consume within a couple of days. If they are very ripe you can pop them in the fridge to slow the ripening process but ensure to bring them back to room temp before eating to get the best flavor.
Spacing – use wide spaced holes. Best used on The Vine Salad Table due to the wider and deeper channels. When used in any standard channel you may need to trim the roots if they become too large and start to block the channel. Be aware – tomatoes use more water and nutrient when mature than most herbs and veggies.
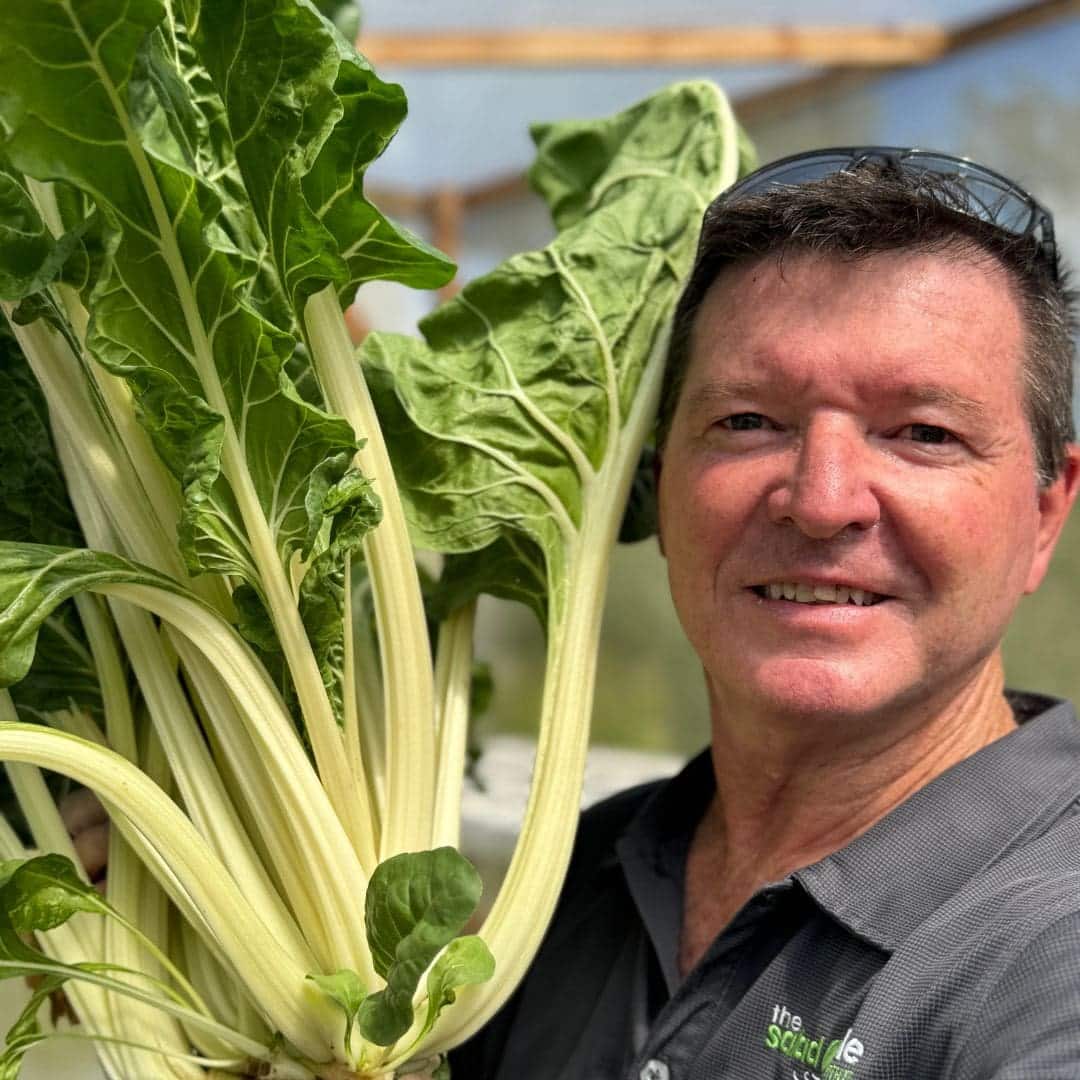
5. Silverbeet
Another very easy vegetable to grow and is similar to spinach but with a stronger flavour. Silverbeet usually has a white stalk, although red beet is also available and has the same green leaves but a rich pink stem and veins. The roots also have a rich red colour. Other coloured varieties are out there although I have only ever grown and eaten the above-mentioned. Harvest when the leaves are dark green and glossy.
Use – raw leaves make another healthy ingredient for salads and the stems can be used in stir-fries. Also flavoursome when steamed or fried in virgin olive oil.
Seed – 2-3 seeds will be plenty in each grow cube.
Grow time – 3-4 weeks from when you plant your seedling
Climate – Grows well almost everywhere and pretty much all year round in most locations.
Storage – Take out of your Salad Table whilst the roots are smaller enough to pull from the holes and this will give you fresh silverbeet for more than a week when stored in the fridge crisper. If the plant is large and the roots unable to be removed intact, cut the stems at the base, put in zip lock bags and place in the crisper to keep fresh for a few days at least. Can be frozen for use at a later date but best blanched prior to freezing.
Spacing – As with most other large varieties, silverbeet can be planted in close spaced holes and spread out after a couple of weeks to allow them to grow. Can become very large if left to grow.
As I said above, experiment and have fun. Trial and error is a big part of any gardening activities but it creates experience, and experience allows future success.
Author
Denis Matthews
Founder - The Salad Table